
Computer Vision at the Edge: ExecuTorch
My experience running models with ExecuTorch on Android

In this post, I’m going to introduce ExecuTorch, a new solution from PyTorch for edge inference across all kinds of devices. I’m also going walk through my first attempt at using ExecuTorch to build a demo app for my Google Pixel 6 Pro to show what it’s like to try out for the first time.
I would also like to preface this by saying that I have very little experience with mobile development. My only experience so far with Android development is building this TFLite demo app to test custom TFLite models.
What is ExecuTorch?

ExecuTorch is PyTorch’s new edge inference solution that allows for models to be exported and run on any number of edge devices such as smartphones, wearables, embedded devices, and microcontrollers. ExecuTorch accomplishes this by introducing a model exporter, model compiler and delegator, and runtime.
The model exporter creates a graph representation of the operations in the model. This allows the semantics to be preserved but creates a more efficient represenation of the program so that edge devices with low memory and/or low compute can also run potentially huge models. This functionality uses the same technology behind model compilation in PyTorch 2.x.
The model compiler converts the exported model into an “ExecuTorch program” that is used for inference in the ExecuTorch runtime. This step provides various other model optimizations, depending on the backend that we select. ExecuTorch currently supports XNNPACK for any CPU, Qualcomm AI Engine, Apple’s CoreML, MPS, ARM Ethos-U, and Xtensa HiFi4 DSP but they are working on supporting more backends such as Vulkan.
The last piece is the runtime. PyTorch has introduced the ExecuTorch runtime, written in C++, which executes the ExecuTorch program that was created from the model export. Since most of the work is done to the model before executing the program, this piece can be extremely lightweight.
For more information on the architecture of ExecuTorch, you can visit this link where they provide much more detail.
Why is this important?
Edge devices have become increasingly capable in the ML space with models that are generally easily portable on full-size x86 machines with a discrete GPU like I talk about in this post or by deploying models onto the cloud. However, what if we want to deploy a relatively lightweight model to a drone or a microcontroller? What if we want to use our smartphone so we can go anywhere?
We designed ExecuTorch, backed by our industry partners like Meta, Arm, Apple, and Qualcomm, to be highly portable and provide superior developer productivity without losing on performance.
Currently, it can be difficult to take a model and even get it running on a low power/compute edge device. That’s not even considering the effort it would take to get the mode running efficiently on the device. ExecuTorch is promising to provide all of the tools you need to get your model running on whatever device you want. Now, let’s give it a shot on my phone.
Building the app
To build the app, I’m going to be following the PyTorch instructions here where they detail how to export and run a DeepLabV3 model using the XNNPACK FP32 backend.
Installing ExecuTorch
The PyTorch team has provided detailed documentation for getting started so the first thing to do is to follow their instructions to clone and install ExecuTorch locally. I am using Ubuntu 22.04 LTS which is one of their supported platforms for development.
I’m not going to go through the installation instructions in detail because it’s fairly short and standard. After installing the requirements, make sure not to miss the printed statement here about flatc. PyTorch uses flatc in the XNNPACK export later on and they presumably use it in other situations as well. Running these two commands will ensure flatc is properly installed and ready to use.

Now the last two items needed to get started are kind of tucked away in the example runtime that PyTorch provides but we’ll need Buck2 to compile the ExecuTorch runtime.
The first step is to install zstd
pip install zstdThen you’ll need to get a Buck2 release from this link. I’m using the following release since I’m on an x86 Ubuntu PC. Note: PyTorch specifically calls out the need for version 2023-07-18 of Buck2 so this is what I’ll be using and it’s what I’ve linked.
buck2-x86_64-unknown-linux-gnu.zstWe’ll then configure Buck2 with the following command, replacing the filename with what we’ve downloaded
zstd -cdq ~/Downloads/buck2-x86_64-unknown-linux-gnu.zst > /tmp/buck2 && chmod +x /tmp/buck2We should now be ready to build the model and runtime.
Preparing the model
Note: Since I have a Pixel, I’ll be using the XNNPACK FP32 backend delegate. Users with Snapdragon processors should also be able to use the Qualcomm instructions which may be more efficient on those phones.
Running a model on a smartphone isn’t a very simple task right now but, fortunately, PyTorch is trying to make it easier. To get the model ready for my Pixel, we need to “lower it to XNNPACK”. XNNPACK is an open-source project by Google and in their words, “XNNPACK is a highly optimized solution for neural network inference on ARM, x86, WebAssembly, and RISC-V platforms”. It provides highly optimized low-level operations that enable models, such as DeepLabV3 which we’ll be using here, to run more efficiently on CPU.
The first step is just assigning an environment variable for the flatbuffers compiler.
export FLATC_EXECUTABLE=$(realpath third-party/flatbuffers/cmake-out/flatc)The second command is where the magic happens.
python3 -m examples.xnnpack.aot_compiler --model_name="dl3" --delegatePyTorch provides this convenient wrapper around their XNNPACK ahead-of-time compiler which allows us to easily demo their supported models but you can use this tutorial for a deeper dive on how to export your own models to ExecuTorch. The gist of what’s going on is that PyTorch is preparing the model for
For compilation performance, it looks like it’s completely single-threaded so the compilation time shouldn’t change too much between devices. It finished on my machine in just under 5 minutes.
mkdir -p examples/demo-apps/android/ExecuTorchDemo/app/src/main/assets/
cp dl3_xnnpack_fp32.pte examples/demo-apps/android/ExecuTorchDemo/app/src/main/assets/
These final 2 lines are just moving the compiled model into the demo directory in preparation for running the model.
Preparing the runtime
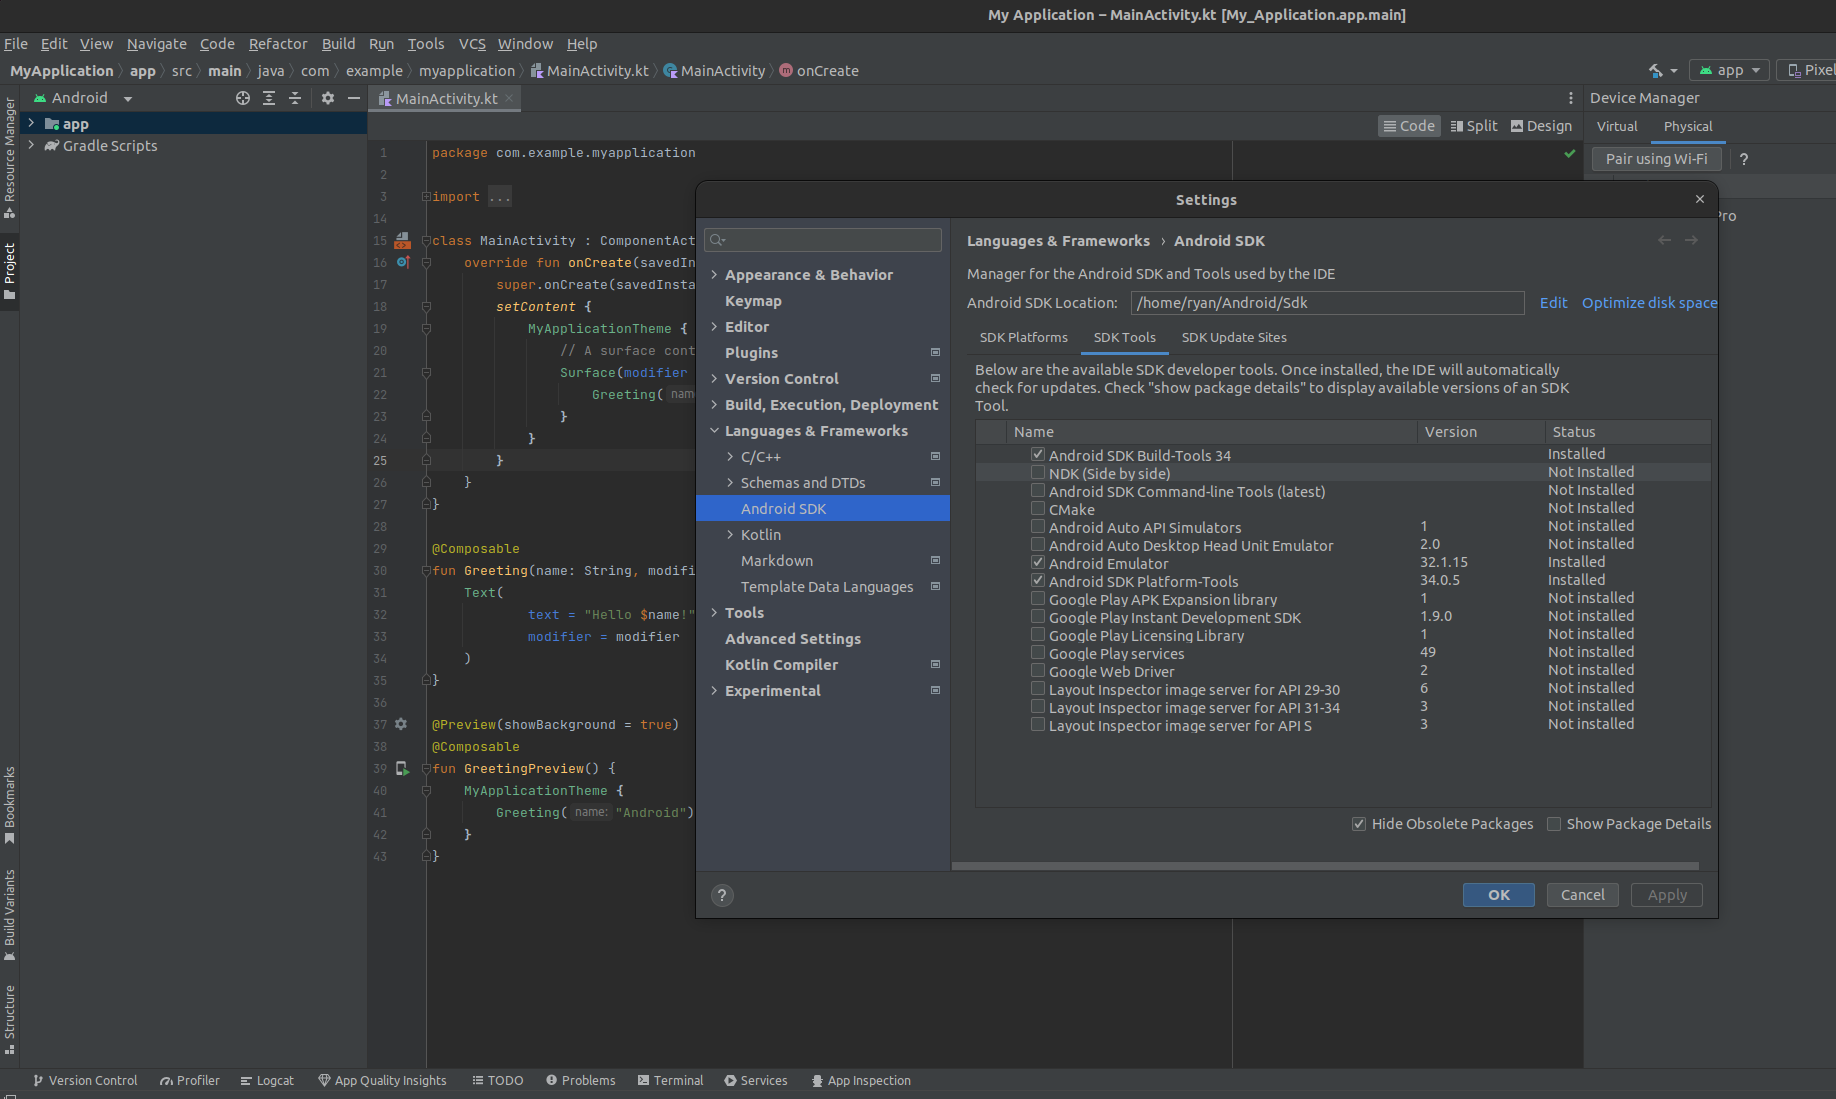
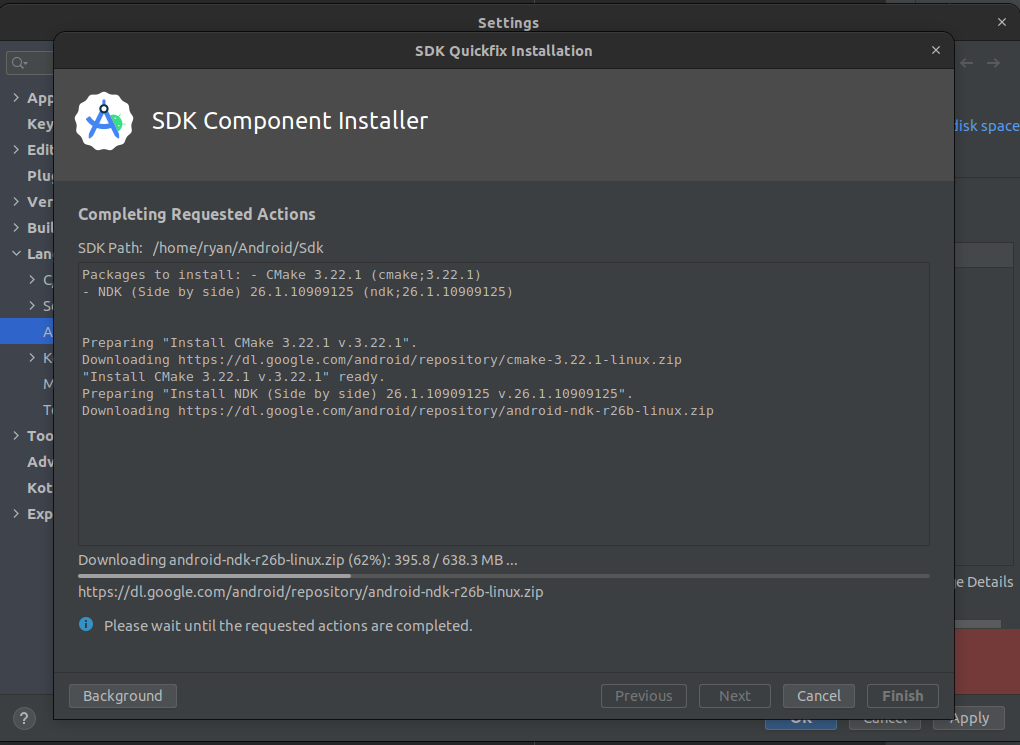
Next, we need to build the ExecuTorch runtime library so that we can actually run the model. In this step, you’ll need the path to your Android NDK. If this is your first time using Android Studio, you will need to install the Android NDK as shown here. To do so, you’ll first need to create a new project to access the necessary tools. I created one using the “Empty Activity” template since we only need access to the tools. Once opened, at the top of the window, press “Tools→SDK Manager”. This will bring up the settings and have you directed to the SDK Manager. In this window, click over to the SDK Tools tab, like I have shown below, select “NDK Manager” and “CMake”, and press “Apply”.
Once this is finished installing, you can now get the path to the Android NDK. For me, this was installed at
~/Android/Sdk/ndk/26.1.10909125/So now we can run the commands. First we’ll export the Android NDK path which for me is
export ANDROID_NDK=~/Android/Sdk/ndk/26.1.10909125/Now we’ll remove any previous cmake directories, make the directory, and move into it
rm -rf cmake-out && mkdir cmake-out && cd cmake-outAnd now we’ll configure the CMake target
cmake .. \
    -DCMAKE_TOOLCHAIN_FILE=$ANDROID_NDK/build/cmake/android.toolchain.cmake \
    -DANDROID_ABI=arm64-v8a \
    -DBUCK2=/tmp/buck2 \
    -DEXECUTORCH_BUILD_ANDROID_DEMO_APP_JNI=ON \
    -DEXECUTORCH_BUILD_XNNPACK=ON \
    -DEXECUTORCH_BUILD_FLATC=OFF \
    -DEXECUTORCH_BUILD_EXTENSION_DATA_LOADER=ON
If you see the following error
CMake Error at CMakeLists.txt:232 (message):
  FLATC_EXECUTABLE must be set when EXECUTORCH_BUILD_FLATC is disabled.  Note
  that EXECUTORCH_BUILD_FLATC may be disabled implicitly when cross-compiling
  or when EXECUTORCH_BUILD_HOST_TARGETS is disabled.
This likely means that “flatc” is no longer on your “PATH”. This happened to me because I started this process and then closed out of my terminal later. This caused the “FLATC_EXECUTABLE” environment variable to be removed from my “PATH” since it was set for that terminal session. If you see this error, rerun the following commands from the main ExecuTorch directory to reconfigure your path
export PATH="third-party/flatbuffers/cmake-out:${PATH}"
./build/install_flatc.sh
If you don’t do this, the following build will fail around 94% of the way through.
Now we’ll build the libraries
cmake --build . -j16This is a very parallel process and the build time will depend on your PC. It ran in about 1 minute for me.
Deploying on device
Now, we’ll do a little cleanup to get ready for deployment. First we’ll make the source directory and copy the core libraries into it.
mkdir -p ../examples/demo-apps/android/ExecuTorchDemo/app/src/main/jniLibs/arm64-v8a

cp ./examples/demo-apps/android/jni/libexecutorchdemo.so \
   ../examples/demo-apps/android/ExecuTorchDemo/app/src/main/jniLibs/arm64-v8a
Now, we can open up Android Studio and run the app! To open the project in Android Studio, select “File→Open” and then open
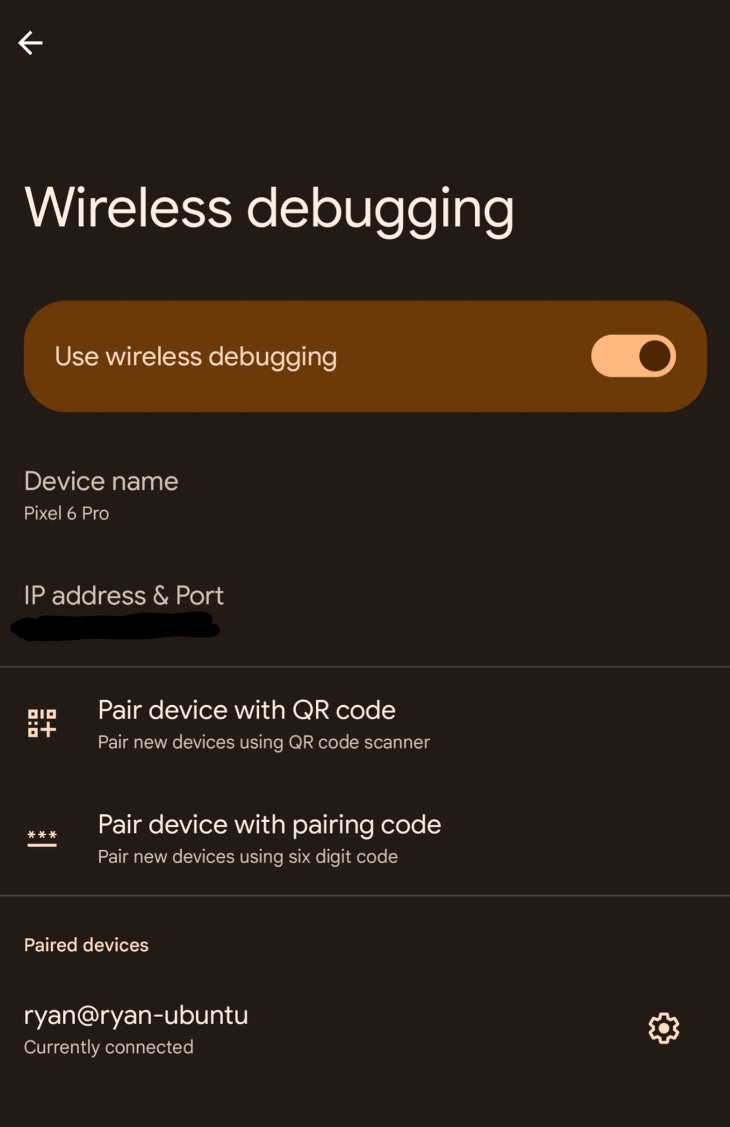
executorch/examples/demo-apps/android/ExecuTorchDemoThis will open the project in Android Studio. Now, you can use the built-in Pixel 3a emulator or, if you have an Android phone, you can add that. To connect your device to Android Studio, you’ll need developer options on your phone. If you haven’t enabled developer options, go to “Settings→About phone” and tap “Build number” a bunch until a popup tells you that you’ve enabled developer options (I am on Android 14 and can’t remember if it’s the same process for other versions). Then, go back into Settings and go to “System→Developer options”. In the developer options, there’s a debugging section with “Wireless debugging” option. This has a toggle next to it but you can actually click into it. This will give you the ability to “Pair device with QR code” which is how I’m connected to my computer which will require you to be on the same network as your computer.
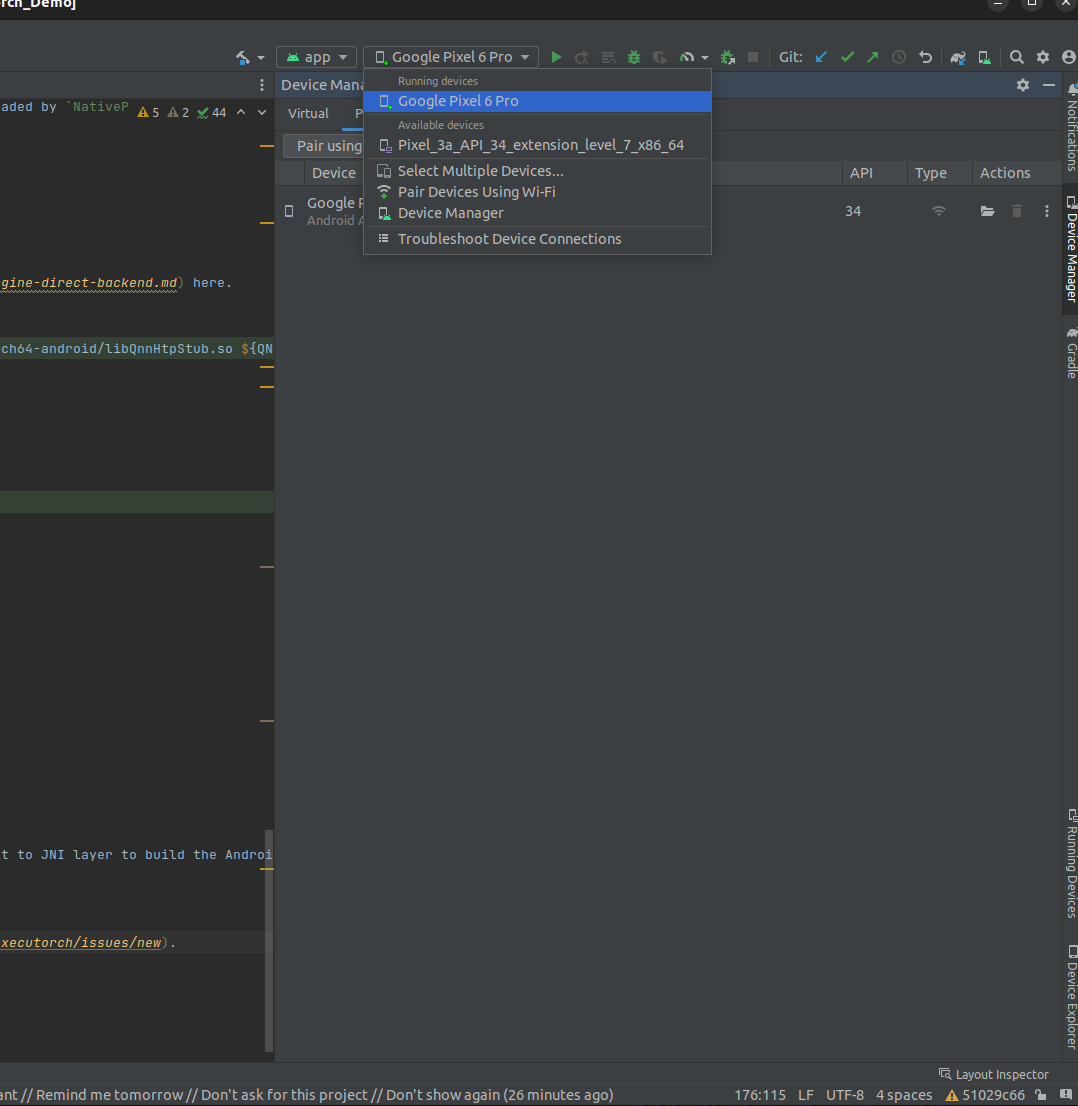
Once connected, you should be able to find the device in the dropdown on the right side of Android Studio.
Now, you can press the play button to the right of the device selector which will build and run the app on your phone! Unfortunately, the demo just cycles through some images and doesn’t really give any performance numbers but we can check that next.
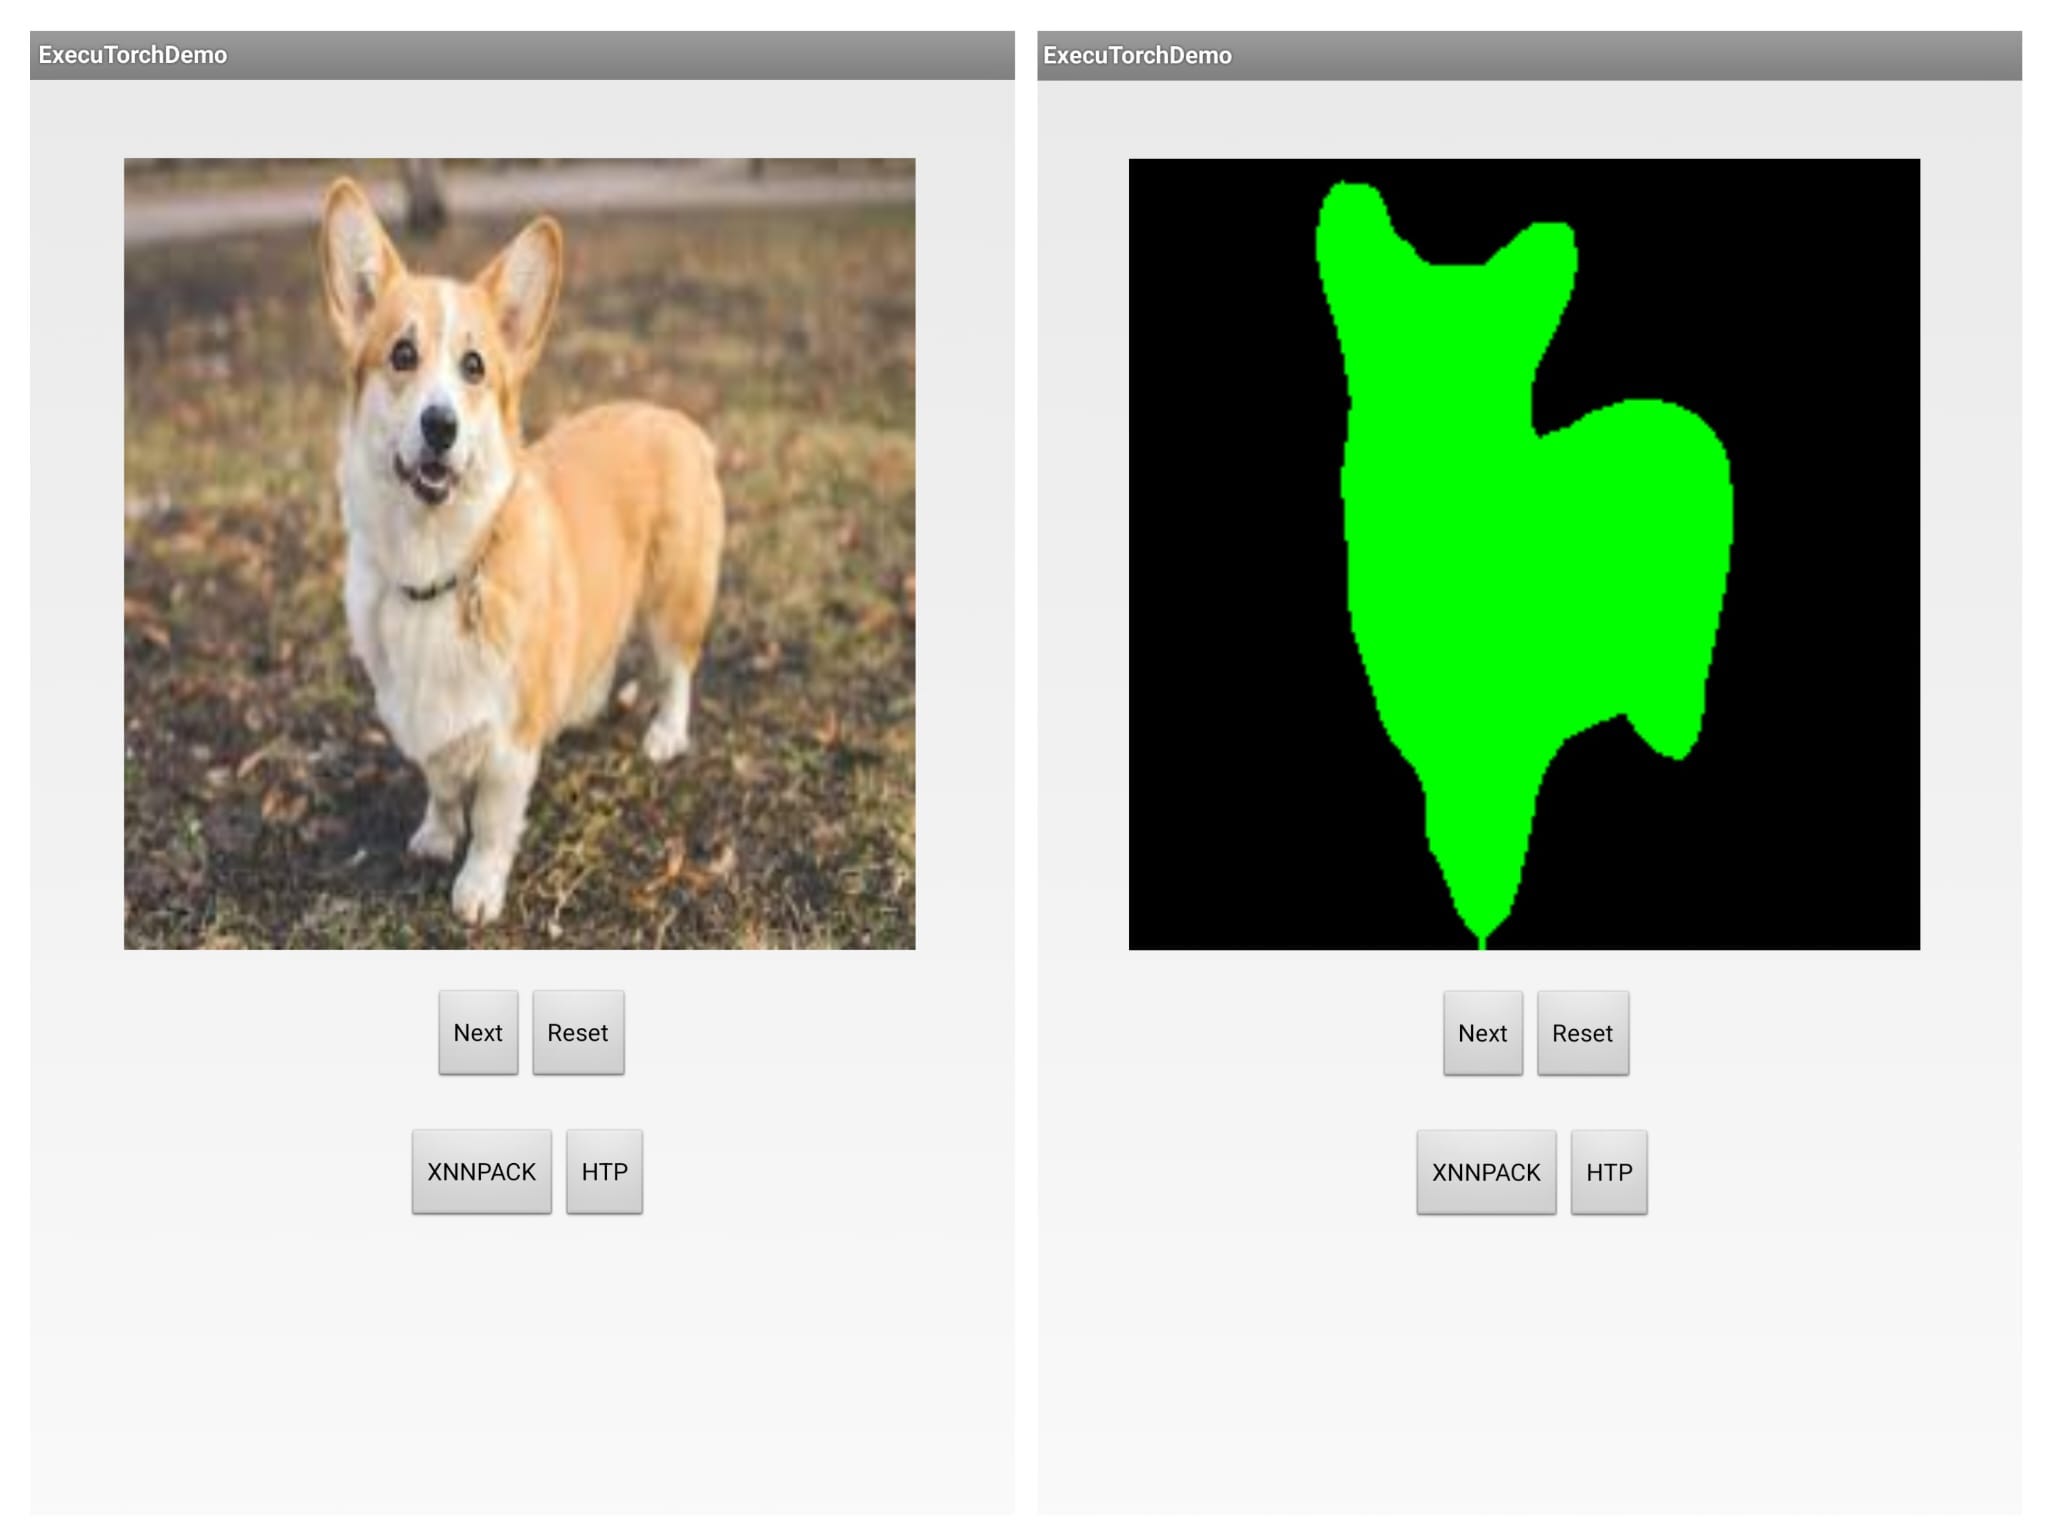
If you look at the “Logcat” tab at the bottom of Android Studio, the PyTorch team helpfully print the inference time in milliseconds. On my phone, this full precision demo model ran in around 7 seconds. For reference, the TorchVision DeepLabV3 model without XNNPACK with data type FP16 takes 5.8 seconds on my desktop CPU.
Quantizing the model
Since this is running on CPU, I wanted to also briefly touch on how to quantize the model in this example. PyTorch has helpfully added a flag to the compiler that will quantize the demo models for you.
python3 -m examples.xnnpack.aot_compiler --model_name="dl3" --quantize --delegateThis is a fast operation and ran in 1.5 minutes on my machine. Then you just have to drop it in the folder, change the values in “MainActivity” where the model is defined (I believe the lines should be 103 and 138), and re-run the app.
Conclusion
So I’ve introduced, set up, and run a model using ExecuTorch and I’m pretty excited about what the PyTorch foundation has created. In just a couple of hours, you can easily go from nothing installed to running a full precision or quantized model on your phone and I’m sure that this will make life much easier for ML Engineers working with low-level hardware.
While this is only a preview release, it’s an exciting step forward in the world of edge ML and I look forward to following this project as they continue to expand.